How to Move Logo in After Effects
Animating the Logo Now that you have the layers separated drag it into AE and import it as Footage It will show up as one single layer so to change that Right Click Create Convert to Layered Comp. In this tutorial well cover animating your logo designs in Adobe After Effects.
Object Along Path Animation After Effects Tutorial Youtube After Effect Tutorial After Effects Motion Design Animation
First of all we will set an animation in the scale option of the logo then click on the clock-like icon of the scale layer.
. A keyframe for scale animation is generated here. To select all keyframes for a property Alt-click Windows or Option-click Mac OS a segment between two keyframes. Your first task is to set up your After Effects project and canvas.
How to animate a logo with After Effects in 7 steps Prepare the logo file. In the Content-Aware Fill panel click Generate Fill layer. For this we go to 6sec frame and set height 1508 and then go to 9sec frame and set height 1038.
You can animate different elements in your design to communicate your brands unique feel. Export your animated logo. Right-click on the new Fill layer and choose Time Freeze Frame.
Since most logo animation will be used with standard HD videos we suggest you set up the canvas as follows. Drag that Fill layer to cover the duration of your photo. Any middle layers can stay where they are or move slightly forward or backward depending on the scene.
Lets see whats happening. If the logos overhang then youll need to control the opacity of the layer that is facing the camera. When you see the move pointer drag to move the text.
Import the logo into After Effects. Click the little stop watch to animate the particles. Animate with shape layers.
Thats looking pretty cool. Fractal Noise and Cell Pattern are great choices for this. Separate them by one pixel in Z space and then parent then rotate the parent.
To select keyframes Shift-click the keyframes or drag to draw a marquee around the keyframes. Press CommandControl N to begin a new Composition. From the timeline select the drop down arrow on the Black Solid then select Effects CC Particle world.
This will open up the composition with all the different layers. To activate the move pointer without leaving text editing mode move the type tool away from the text in the Composition panel. Just drag and drop your logo inside the Edit Comp edit the text adjust the color and start rendering.
Set up the composition. Adjust effect settings or even combine effects to create an. Distracting logo in a moving shot.
This can be done with a simple expression. Prepare the logo file. Your last key-frame should be around 5 seconds.
See how our watermark is moving. Neon Logo Opener The Neon Logo Reveal template gives your logo a neon light outline leaving a cool and electrifying impression on your audience. Now we need to move our logo repeatedly on the video screen.
For example add effects to your background layer to create an abstract looping animation without much effort. Youll discover how quick and easy it is to animate a logo and bring your de. 1400 Motion Graphics Pro Pack.
Here is a simple way to get an InDesign layout into After Effects with each InDesign element showing up in After Effects as a separate asset that can then be made to move. Enter a name for the composition and make sure the size is set to 19201080. Youll find the expression on Dan Ebberts Motion Script website.
Select your Background layer and your Fill layer right-click and select Precompose. You can also hold down the Ctrl Windows or Command Mac OS key to momentarily activate the move pointer. In InDesign use the layers panel to selectively make layers andor objects visible and invisible as needed and export each layer andor object that you may want to manipulate in After Effects.
Logo Templates for After Effects 28 Free After Effects Templates for Logo. Introduce your brand with a simple logo twist or create an entrance with an explosion of light and color. To move keyframes in time or value place the pointer inside the bounding box and drag.
HttpsbitlyMGPPPACK1400 - Learn 4 amazing techniques for creating custom logo animation motion graphics in After Effects. Choose a logo reveal template that suits your brands personality. Have forgotten to place a sticker on the logo.
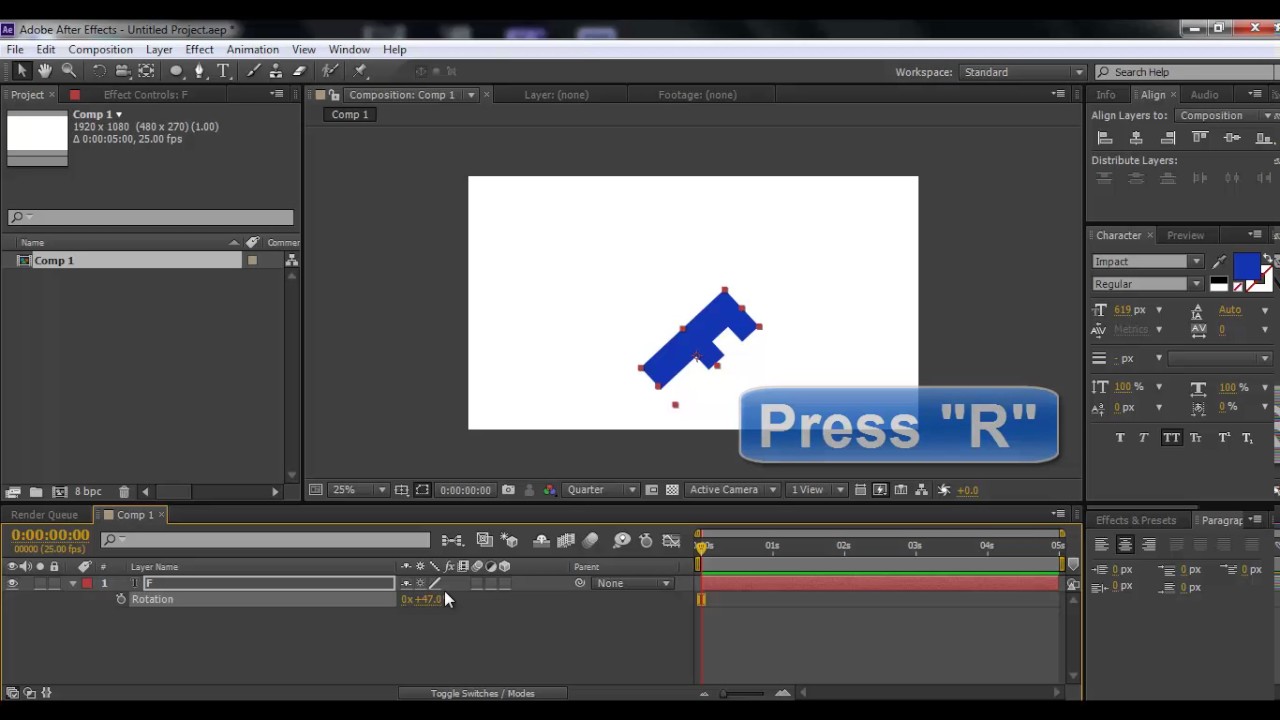
Adjust your animation timing. Position the background layer farther away in z space z 0 and then scale it up. Now we will animate our logo click on the logo layer and click on the Transform arrow key.
The logo is coming on screen at the start and at 3sec frame is going out from the screen. Parent one logo to the other. Make your brand memorable by incorporating a logo animation into your next video.
Finally set the Composition duration. Fix it with this 60 seconds tutorial with Adobe After Effects 2019. Every 1 - 15 seconds create a key-frame You can add a key-frame by clicking the diamond in-between the arrows in the very left.
Starting with the top layer press P and position it closer to you in z space z 0 then press S and scale it back down to normal size.

Apple Logo Animation 2018 After Effects Tutorial With Trapcode 3d Stroke Youtube Apple Logo After Effect Tutorial Tutorial

After Effects Tutorial Glitch Logo Animation Easy Method Motion Design Video Motion Graphics Logo After Effect Tutorial
How To Move Pivot Point Adobe After Effects Tutorial Adobe After Effects Tutorials After Effect Tutorial After Effects
No comments for "How to Move Logo in After Effects"
Post a Comment